Here she is, "the Gibson".. bruised and battered. An old Gibson tenor (four stings) guitar, circa 1920's. The outside is visibly rough.. you should see the inside.. we'll get to that later on. With several top cracks and tear outs, I have some work to do on this thing.
Already did some patching up on the lower bout and now that gaping hole. The bridge plate had cracked in half at some point and tore right through the top with the bridge popping off. This guitar is really dried out. I'm sure it endured a lot of dry heat for many years. The bracing inside is loose just about everywhere.. I was thinking of taking the back off, but I think I can deal with the bracing through the sound hole. First thing to do is patch that hole, glue the bridge back on and add a new maple bridge plate.
An old broken Yamaha neck provides some nice mahogany for patch wood. I love old red label Yamahas. I love them much more when they aren't broken.. but at least it can help me out.
I used some vellum to trace out the shape of the patch I'll need to come up with. I want it to fit as tight and clean as possible, thought the top is really dry and brittle, so I don't want to force it..
Here's the patch fitting nicely.. I slightly tapered the edges and fit it from inside the guitar. That way upward pressure and some hot hide glue lock it into place.. I get the underside of the patch flush
and once its glued up and dry, I'll then sand the patch
down a bit bringing it perfectly flush on top as well.
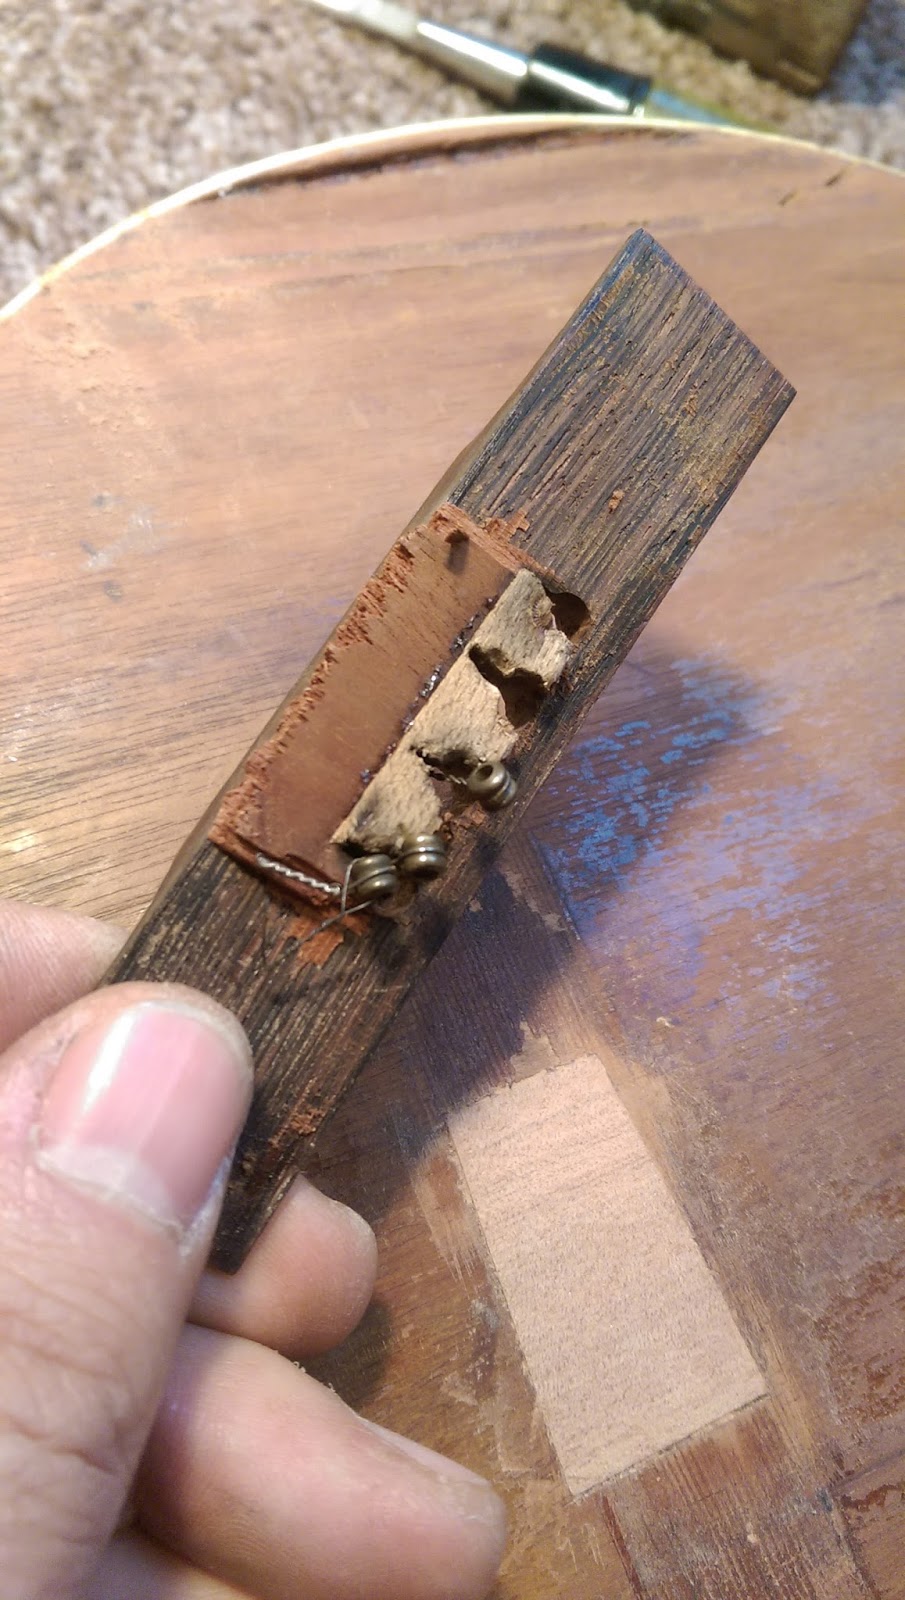
This is brilliant.. strings embedded into the bridge plate and there's the torn out top wood. Nice!
I'll remove all that mess, clean it up and re-glue the bridge..
Now the bridge is all clamped up and back to being useful.. Next thing to do is make a maple bridge plate to go underneath and give this guitar the support it needs to handle string tension again.. There will be a lot of bracing to glue as well before she's ready.
So I had the idea that i could work through the sound hole on the bracing.. ha!
Yeah,
scratch that idea.. Way too much
claustrophobia for my right hand. The soundhole is too small and look at this thing! We can rebuild her! As dry as the wood is, taking the back
off was easy and well worthwhile. The inside is a mess from prior
attempts at gluing the braces (through the soundhole).
Here's a pic of my super high tech brace repair jig. With guitar clamped between two boards, I use some tongue depressors, or glue spreading sticks as we call them, to provide the clamping force needed to hold the brace nicely in place while the glue dries. The sticks are flexible but not flimsy, and by cutting a V into one side to straddle the brace it allows me to really wedge the stick into place and apply plenty of pressure down onto the brace..
Here's another brace being glued down onto the guitar back.. I clamped the guitar back onto a piece of birch ply. The back has some serious warpage and this was a good way to flatten it out for the gluing. Each brace is removed and cleaned up and the gluing surfaces are scraped and lightly sanded. Once the braces are all back in place the warped areas will stabilize. Getting some moisture back into the wood will help even more with any deformed areas of the top or back. I'll do that last.
And the final result. I know i skipped some pics re-gluing the back.. that's what happens when you get lazy with the blog. I lost a bunch of sequence shots on my last phone. But in the end, this guitar came out great, has a new life and a surprisingly loud and crisp sound. You can really feel that old wood resonate. I wanted to keep it!
Cheers!